

If you purchased your domain through Namecheap and want to use Fastmail to send and receive messages, you will need to update your domain’s Mail Exchange (MX) records.
Changing your MX records is the best option if you have a website hosted on your domain with another service. (Note: If you do not have a website, simply switching your nameservers to Fastmail is usually the faster and easier route!)
Follow this straightforward, three-step guide to get your domain authenticated and your email flowing.

RELATED: Affordable namecheap hosting package
Step 1: Add Your Domain to Fastmail
Before making changes in Namecheap, you need to tell Fastmail to expect your domain. You can reference Fastmail’s official domain setup guide for additional context if needed.
- Log in to your Fastmail account and navigate to Settings → Domains.
- Click the Add Domain button and type your domain (e.g.,
yourdomain.com) into the text box. - Fastmail will automatically detect that your domain is registered with Namecheap. (You can also select Namecheap manually from the supported registrars list).
- Follow the setup wizard to add your email addresses. When the wizard asks if you have a website, select Yes. This forces the wizard to provide you with the exact MX record instructions rather than nameserver instructions.
Note for Legacy Users: If you are on a legacy plan, the setup wizard only configures email addresses, not users. You will need to add users manually to create additional accounts at your custom domain.
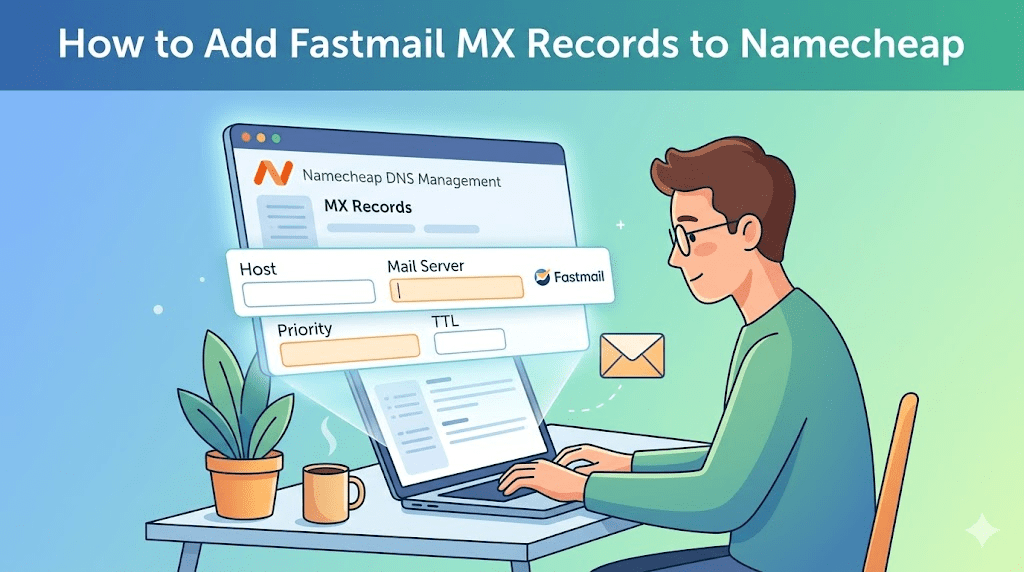
Step 2: Edit Your MX Records in Namecheap
Tip: It is best to make these DNS changes during off-hours when you aren’t expecting important incoming mail, as DNS propagation can take a little time.
- Log in to your Namecheap account.
- From the Domain List, find the domain you are connecting to Fastmail and click Manage.
- Along the top toolbar, select Advanced DNS. For further navigation help, see Namecheap’s Advanced DNS knowledge base.
- Scroll down to the Mail Settings section. Click the dropdown menu and select Custom MX.
- You will need to add two new MX records. Use the “Add New Record” button to input the following details exactly:
| Host | Value | Priority |
@ | in1-smtp.messagingengine.com | 10 |
@ | in2-smtp.messagingengine.com | 20 |
- Click Save All Changes (the green checkmark icon) after adding both records.
Step 3: Sign Your Domain (DKIM, SPF, DMARC)
While your domain can now receive messages, you must add a few more records to ensure your sent messages actually reach your recipients’ inboxes and do not get flagged as spam.
Scroll back up to the Host Records section on that same Advanced DNS page in Namecheap and click Add New Record.
1. Add DKIM Records (CNAME)
Add three separate CNAME records using the details below.
Crucial: Make sure to replace yourdomain.com with your actual domain name in the Value fields!
| Type | Host | Value |
| CNAME | fm1._domainkey | fm1.yourdomain.com.dkim.fmhosted.com |
| CNAME | fm2._domainkey | fm2.yourdomain.com.dkim.fmhosted.com |
| CNAME | fm3._domainkey | fm3.yourdomain.com.dkim.fmhosted.com |
RELATED: Best namecheap offers
(You can safely leave any other existing CNAME records exactly where they are).
2. Add SPF Record (TXT)
Add a new record, select TXT from the dropdown, and enter the following:
| Type | Host | Value |
| TXT | @ | v=spf1 include:spf.messagingengine.com ?all |
3. Add DMARC Record (TXT)
Finally, add one last TXT record:
| Type | Host | Value |
| TXT | _dmarc | v=DMARC1; p=none; |
Be sure to save all changes once you have inputted these records.
Verify Your Setup
You are all done! To ensure everything is configured correctly:
- Go back to your Fastmail account.
- Navigate to Settings → Domains.
- Click Recheck DNS.
If everything was entered correctly, your domain status will update to Active. MX records set.


")