In the vast landscape of content management systems (CMS), WordPress stands as a prominent choice for bloggers, businesses, and individuals seeking an intuitive platform to build and manage their websites. Hostinger, on the other hand, is a well-known web hosting provider that offers an affordable and user-friendly environment for hosting websites.
In this tutorial, we will walk you through the exact process of installing WordPress on Hostinger, ensuring that you are up and running in no time.
Prerequisites
Before diving into the installation process, make sure you have the following ready:
- Domain Name: Ensure you have a registered domain name that you plan to associate with your WordPress site.
- Hostinger Account: Sign up for a Hostinger account and have your login credentials at hand.
Step 1: Access the Hostinger Control Panel
- Log in to your Hostinger account using your credentials.
- Once logged in, you will be automatically redirected to the main Hostinger Dashboard.
Step 2: Choose Your Website Hosting
- From the dashboard, click on Hosting from the top menu.
- Select the website hosting plan that suits your needs. (If you are setting up a new account, Hostinger offers a variety of plans to choose from).
Step 3: Assign Your Domain
- If you have already registered a domain directly with Hostinger, simply select it from the drop-down list.
- If you are using an external domain (purchased from a different registrar like GoDaddy or Namecheap), update the nameservers of your domain to point to Hostinger’s nameservers. This step is completely necessary for proper domain linking.
Step 4: Access hPanel
After assigning the domain, click on Manage to access Hostinger’s custom hosting control panel, officially known as hPanel.
Step 5: Install WordPress
- In the hPanel, navigate to the Website section and click on Auto Installer.
- From the available application options, select WordPress.
Step 6: Configure the WordPress Installation
A setup window will appear. Fill out the following information:
- Domain: Choose the exact domain where you want to install WordPress.
- Site Details: Fill in the details for your new site, including the Site Title, Administrator Username, Administrator Password, and Administrator Email.
- Language: You can also select your preferred language for the WordPress core installation.
Step 7: Complete the Installation
- Review all of your installation details to ensure there are no typos, then click on Install.
- The automated installation process will begin, and you will be provided with a progress indicator on the screen.
- Once the installation is complete, you will receive a success confirmation message.
Step 8: Access Your WordPress Dashboard
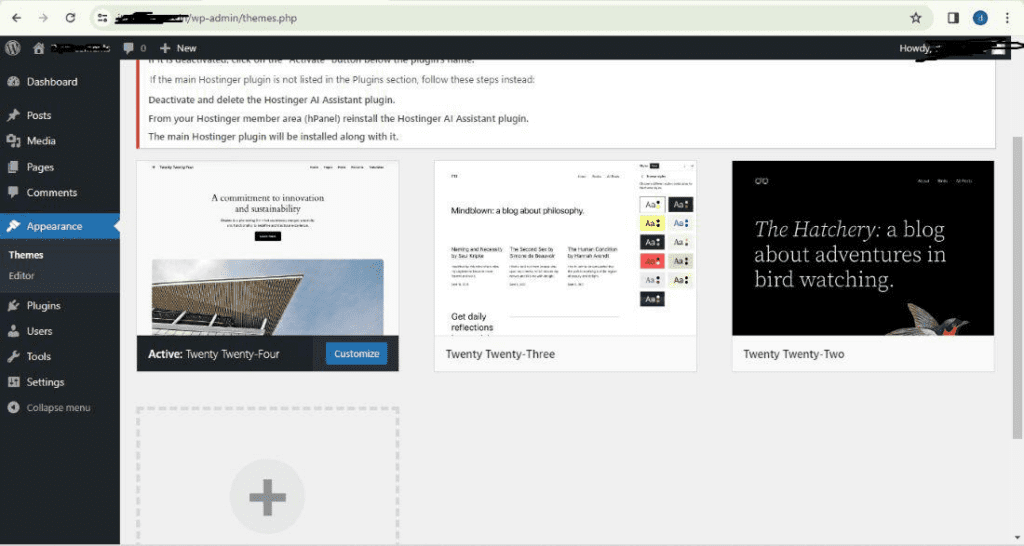
- After installation, you can access your backend WordPress dashboard by navigating to
[http://yourdomain.com/wp-admin](http://yourdomain.com/wp-admin)in your web browser. - Log in using the exact Admin Username and Password you specified during Step 6.
Step 9: Customize Your Website
You are all set! Explore the WordPress dashboard to customize your website’s appearance and functionality. Choose a theme, install essential plugins, and create pages and posts to start building out the website of your dreams.
Conclusion
Installing WordPress on Hostinger is a straightforward process that does not require any advanced technical expertise. With the easy-to-use hPanel and WordPress’s intuitive dashboard, you can quickly set up a fully functional website in minutes. Remember to regularly update your WordPress core, themes, and plugins to ensure maximum security and optimal site performance. Happy blogging!
Also Read : Bluehost Review 2025: Honest Look at Speed & Uptime