
cPanel is an essential dashboard for managing your website’s files, databases, and emails, but accessing it can sometimes be a hurdle for new users. Whether you are using a Shared Hosting plan or a powerful Dedicated Server, there are several pathways to your control panel.
Understanding the various login methods and common troubleshooting steps ensures that you can manage your site effectively without technical delays.

Method 1: Logging in via AMP (Easiest Method)
The Account Management Panel (AMP) is the primary portal for InMotion Hosting customers. It allows for a seamless, “one-click” login to cPanel without requiring you to remember separate credentials.
- Login to AMP: Visit the InMotion login page and enter your primary email and password.
- Click the cPanel Button: Under your account name, locate the active hosting plan and click the cPanel icon.
- Automatic Redirect: You will be instantly logged in and redirected to your cPanel dashboard.
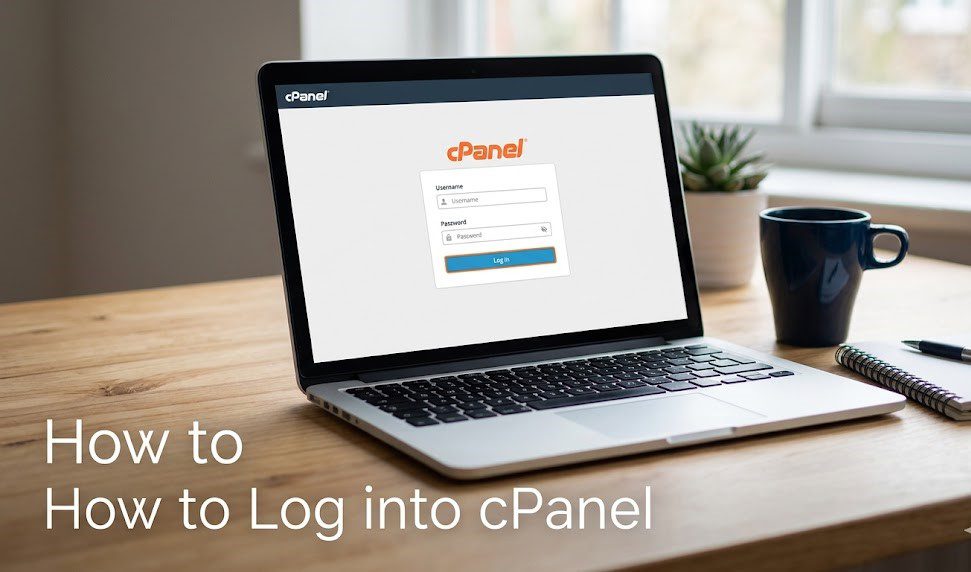
Method 2: Direct Browser Login
If you don’t want to log in through AMP, you can access the login screen directly via your browser’s address bar using your domain name.
Common Direct URLs:
- Domain Path:
example.com/cpanel - Port Access (Secure):
example.com:2083 - Proxy Subdomain:
cpanel.example.com
Note: Replace example.com with your actual registered domain.
Using the Server Name:
If your domain has not yet propagated (is newly registered) or you are having DNS issues, you can use your Server Name instead:
secure###.inmotionhosting.com:2083(Replace###with your specific server number found in AMP).
Method 3: Access via WHM (VPS & Dedicated Plans)
For Resellers or those on VPS/Dedicated plans, you can manage multiple cPanel accounts through WebHost Manager (WHM).
- Login to WHM.
- Navigate to Account Information > List Accounts.
- Click the cPanel icon next to the specific domain you wish to manage.
Troubleshooting Login Issues
If you find yourself locked out, check these common resolutions:
- Case Sensitivity: cPanel usernames must be all lowercase. Passwords are case-sensitive.
- Blocked Ports: Some office or public networks block ports 2082 and 2083. If the page won’t load, try
cpanel.example.com, which uses the standard web port (80). - Propagation: If you just bought your domain, it can take 2–24 hours to “propagate” across the internet. During this time, use your temporary server URL found in your AMP technical details.
- Resetting Passwords: If your credentials fail, use the Reset Password tool within AMP.
Conclusion
Mastering your cPanel login is the first step toward successful website management. While the AMP “one-click” method is the most user-friendly, knowing your direct URLs and port numbers (2083) provides a vital backup for advanced users and developers. If you continue to experience “Invalid Login” errors after a password reset, ensure your IP address hasn’t been temporarily blocked by the server’s firewall due to too many failed attempts, and contact Live Support for a manual clear.
Also Read : How to Create a Subdomain in Namecheap Hosting


")