
Whether you’re creating a website for the first time or migrating from another provider, a Hostinger hosting plan will ensure your site delivers the best user experience 24/7.
Fortunately, buying hosting from Hostinger is a breeze. In this article, we’ll guide you through each step of the process and explain exactly what you need to do immediately after your purchase to get your site live.

Why Buy Hosting From Hostinger?
When choosing a web hosting provider, the key factors to consider are performance, security, reliability, and customer support. With Hostinger, here is exactly what you’re getting:
- Fast Loading Speeds: Run a high-performing website for visitors anywhere in the world utilizing cutting-edge LiteSpeed web servers and global data centers.
- Top-Notch Security: Protect your website from cyberattacks with a built-in malware scanner, DDoS mitigation, unlimited SSL certificates, and other advanced security features.
- 99.9% Uptime Guarantee: Rest easy knowing your website is always up and running.
- 24/7 Support: A multilingual Customer Success team is always available via live chat to assist and answer your questions.
- Money-Saving Benefits: Hosting plans come packed with a free domain, a free website migration service, up to 100 custom email accounts, and an AI-powered website builder.
- Risk-Free Trial: Try any of the hosting plans risk-free with a strict 30-day money-back guarantee.
How to Buy Hosting in 4 Easy Steps
Follow these simple steps to purchase a hosting plan and get your website up and running in no time.
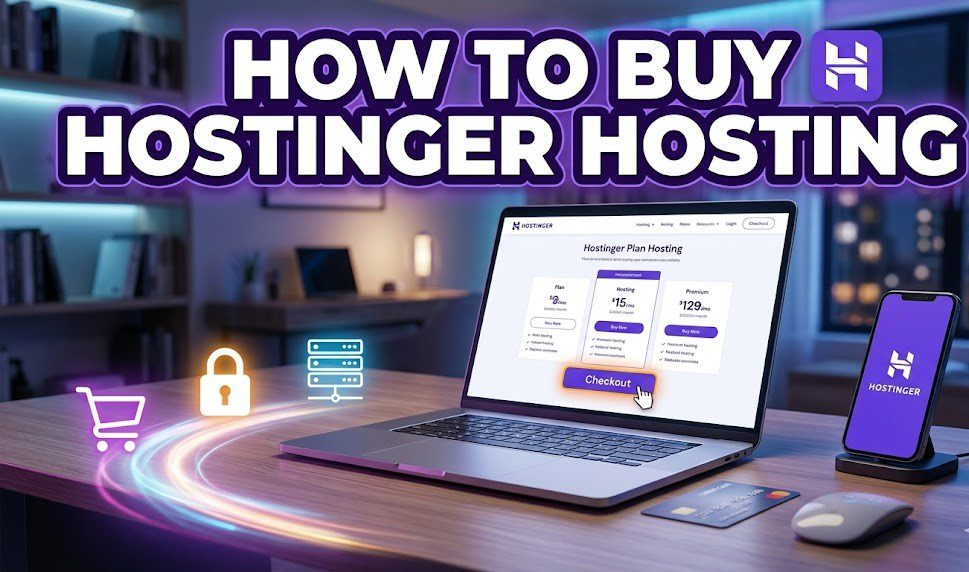
1. Choose Your Hosting Plan
Go to Hostinger’s website, find the hosting plan you want to purchase, and select Choose plan. If you don’t know which hosting plan to choose yet, you must first identify your goals, needs, and budget. Here’s a quick overview of Hostinger’s top hosting types:
- Web Hosting: Share a server with multiple websites and users. Best for small-to-medium personal blogs, business websites, and online stores.
- Cloud Hosting: Uses a network of servers for maximum performance, stability, and security while still being easy to manage. Ideal for medium-to-large business websites and high-traffic stores.
- Managed WordPress Hosting: Optimized specifically for WordPress users, it comes with WordPress-specific features like LiteSpeed acceleration, automatic updates, a vulnerability scanner, and an object cache.
- VPS Hosting: A Virtual Private Server that runs independently from other projects on the same physical server. Best for advanced users who want full technical control over their hosting environment.
2. Select the Hosting Period
After choosing a plan, you will be redirected to your Cart to select the hosting period. You can buy hosting for a 1-month, 12-month, 24-month, or 48-month period. Choosing the longer periods will save you a massive amount of money in the long run. (Note: You can change your billing cycle anytime through your hPanel dashboard. If you decide to upgrade your plan later, the remaining subscription length is simply added to the new plan).
3. Create a Hostinger Account
Once you’ve chosen the subscription length, you will be prompted to create a Hostinger account. If you already have an account, simply click Log in instead.
4. Make the Payment
Enter your billing address and check the order summary to make sure everything is perfectly in order. Next, complete the payment using your preferred payment method. The available options will depend on your region, but generally, Hostinger accepts debit/credit cards, PayPal, and eWallets like Google Pay, Apple Pay, and AliPay.
What to Do After Buying Hosting
After securing your purchase, you will automatically be redirected to Hostinger’s onboarding wizard. You can choose whether to Create a website from scratch or Migrate a website from an old host.
To Create a New Website: You will need to choose between WordPress or the Hostinger Website Builder as your core platform. WordPress is the better choice for users who want a high level of customization and control, while the Hostinger Website Builder is perfect for beginners who want to quickly launch an attractive website in minutes. Whichever option you choose, just follow the onboarding steps until completed!
To Migrate an Existing Website: If you already have a website, you can migrate it from your current provider to Hostinger for free. After selecting Migrate a website, follow the onboarding flow by entering your website’s current URL. Wait up to 48 hours for the migration team to complete the transfer. Once your website is fully moved to Hostinger, you will be notified via email.
Frequently Asked Questions
Is Hostinger good for web hosting? Yes! Hostinger uses the latest technology to offer fast, secure, and highly reliable hosting with a 99.9% uptime guarantee, 24/7 access to a Customer Success team, and a 30-day money-back guarantee.
Can I change my Hostinger hosting plan later? Absolutely. You can upgrade your hosting plan anytime through the hPanel, and your data will be automatically transferred to the new plan. (Exception: If you want to migrate to a VPS, you must transfer the site files manually).
Does Hostinger offer a free domain name with its hosting plans? Yes, Hostinger includes a free domain name with all hosting plans purchased for a period of 12 months or more.
Also Read : How to Create a Subdomain in Namecheap Hosting


")