

Namecheap allows you to improve your domain’s performance by creating subdomains such as blog.example.com for your blog, support.example.com for your customer help, and store.example.com for your e-commerce store.
Whether you are looking to promote your services, create a blog, or organize your content, this article will explore how to add your subdomain in Namecheap, the costs involved, and viable alternatives.
RELATED: Affordable Hostinger hosting package
Key Takeaways
- Explore creative subdomain ideas for various niches.
- Use subdomains to direct traffic to specific audiences and internal departments.
- Customize subdomains to suit your brand.
- Namecheap offers free subdomains to domain owners.
- Secure your subdomains with SSL/TLS certificates.
How to Add a Subdomain in Namecheap Step-by-Step
To add a subdomain in Namecheap, follow this step-by-step guide:
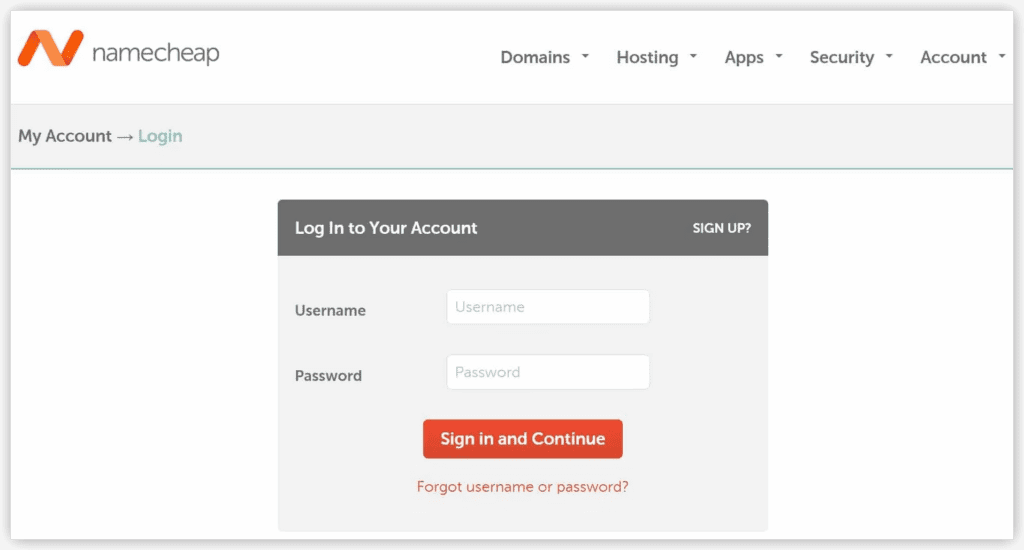
- Access Your Account: Log in to your Namecheap account.
- Go to Domain List: After logging in, click on the Domain List option in the Namecheap dashboard.
- Choose Your Domain: Find the domain for which you want to create a subdomain and click Manage.
- Access Advanced DNS: Once you are on the domain management page, select the Advanced DNS tab.
- Add New Record: Scroll down to the Host Records section and click the Add New Record button.
- Select Subdomain Type: Choose the type of subdomain you want to create. Options include:
- Subdomain that points to an IP address (A Record).
- Subdomain that points to an IP address of the destination hostname (CNAME Record).
- Subdomain that forwards to a link/URL (URL Redirect Record).
- Catch-all (wildcard) subdomain.
- Configure Subdomain: Depending on your choice, enter details such as the host, value, or destination link.
- Save Changes: After filling in the required information, click the Save All Changes button.
- DNS Propagation: Typically, it takes about 30 minutes for the newly created subdomain to take effect globally.
- Verify: You can verify that your subdomain is working by typing it into your browser.
RELATED: Best Namecheap offers
How to Set Up a Wildcard Subdomain in Namecheap
A wildcard subdomain is a DNS (Domain Name System) configuration that captures requests for subdomains that do not exist under your main domain. Instead of having to specify each subdomain individually, a wildcard subdomain uses a wildcard character * to match any subdomain that does not have a specific record (e.g., *.example.com).
Here is a step-by-step guide on how to set up a wildcard subdomain in Namecheap:
- Access Your Account: Sign in to your Namecheap account.
- Select Domain: From the left sidebar, click on Domain List and choose the domain to which you want to add a wildcard subdomain. Click Manage.
- Add Wildcard Redirect: In the domain management panel, find the Redirect Domain section, and click Add Wildcard Redirect.
- Destination URL: Enter the destination URL to which you want to redirect all wildcard subdomains. Click Save Changes to confirm.
- Configure Record Types (Optional): If you want to set up wildcard subdomains for specific record types (e.g., A, CNAME, TXT), go to the Advanced DNS tab. In the Host records section, click Add New Record.
- Choose Record Type: Select the desired record type. In the Host field, use the asterisk symbol
*to represent the wildcard subdomain. Enter the appropriate value. - Save Changes: Click Save Changes to finalize your configuration.
- Propagation Time: Allow up to 30 minutes for DNS changes to propagate.
How to Create a Namecheap Subdomain in cPanel
cPanel is a popular server and site management platform that simplifies web hosting tasks. Here is how to create a Namecheap subdomain using cPanel:
- Log into cPanel: Access your cPanel account using your login credentials.
- Navigate to Domains Section: Inside cPanel, locate and click on the Domains section.
- Create a New Subdomain: Look for the Create A New Subdomain button and click on it.
- Enter Subdomain Name: In the provided text box, enter the name you want for your subdomain (e.g., “blog” or “shop”).
- Specify Directory: To ensure the subdomain has its own unique directory, deselect the option that reads “Share document root”. Then, input the directory where you want to store the files for this subdomain.
- Submit: Click the Submit button to create your subdomain.
- Propagation: It may take around 5-10 minutes for the subdomain to become available online, but full worldwide propagation can take up to 40 minutes.
RELATED: Affordable InMotion hosting package
Are Subdomains Free on Namecheap?
Yes, Namecheap offers free subdomains to domain owners. When you register a domain with Namecheap, you have the opportunity to create up to 150 subdomains using the included BasicDNS service at no additional cost.
What Is the Namecheap Subdomain Limit?
Namecheap allows you to create up to 150 subdomains per root domain. Each of these subdomains can have a name that is up to 60 characters long, including letters and hyphens.
Namecheap Subdomain Ideas and Examples
Here are some creative subdomain ideas across various niches. Simply replace the main domain with your own brand name:
- Fashion:
menswear.yourdomain.com,accessories.yourdomain.com,trendy.yourdomain.com,vintage.yourdomain.com. - Business:
marketing.yourdomain.com,consulting.yourdomain.com,finance.yourdomain.com,ecommerce.yourdomain.com. - Hobbies:
photography.yourdomain.com,gaming.yourdomain.com,diy.yourdomain.com,music.yourdomain.com. - Beauty:
skincare.yourdomain.com,makeup.yourdomain.com,wellness.yourdomain.com,spa.yourdomain.com. - Home:
interiordesign.yourdomain.com,homedecor.yourdomain.com,realestate.yourdomain.com,smarthome.yourdomain.com.
Alternatives to Making a Subdomain in Namecheap
If your DNS is managed elsewhere, here is how you can set up subdomains using other popular providers:
How to Create a Subdomain in GoDaddy
- Log in to your GoDaddy Domain Portfolio.
- Select Edit Domain DNS next to your domain.
- Click Add to add another record.
- Select A from the Type menu.
- Edit the details (Name: e.g., “blog”, Value: your IP address, TTL: 1 hour).
- Select Add Record to save.
How to Create a Subdomain in Cloudflare
- Log in to Cloudflare and go to your DNS settings.
- Add an A, AAAA, or CNAME record pointing to your hosting provider.
- Ensure your SSL/TLS settings cover your new subdomain (Cloudflare’s Universal SSL covers first-level subdomains automatically).
How to Create a Subdomain in WordPress
- Visit the dashboard of your WordPress site.
- Navigate to Upgrades and select Domains.
- Click the Add a domain button and choose Use a Domain I own.
- Enter the full subdomain you want to use and click Next.
- If your root domain does not use WordPress nameservers, you will need to add NS (Name Server), A, or CNAME records to your primary DNS provider to point to WordPress.
Final Word
As a website owner, your online presence goes beyond your main domain name. Subdomains are essential to segment your pages and help your visitors easily find what they need. Whether you are using Namecheap’s BasicDNS, cPanel, or a third-party tool, setting up a subdomain is a straightforward process that instantly expands your website’s architecture.


")